
Stepping into a living room bathed in the amber shimmer of twinkling boughs instantly summons pure winter romance. Whether you are transforming a compact apartment pine on a shoestring budget or embellishing an opulent grand spruce, mastering foundational design techniques unlocks effortless sophistication. Explore these Christmas tree decorating ideas to elevate your seasonal styling with professional finesse.
Christmas Tree Decorating Ideas That Create Breathtaking Holiday Magic
1. Ribbon Weaving Technique
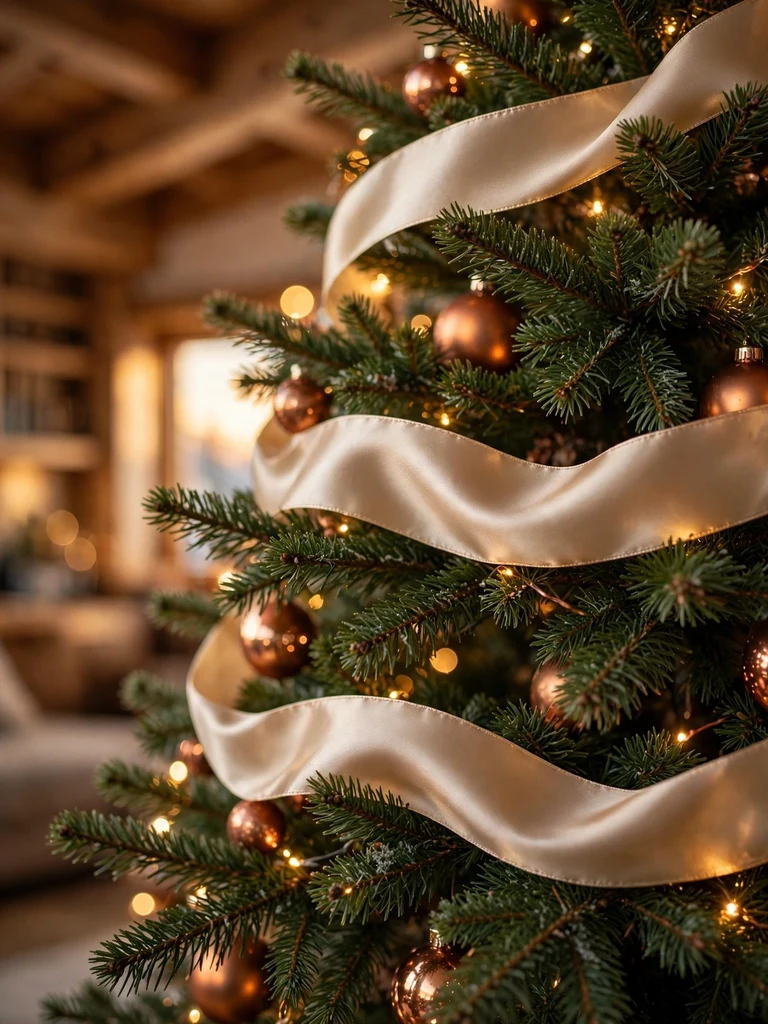
- Anchor four-inch wired ribbon deep inside top branches to establish seamless diagonal flow
- Billow fabric in gentle billowing loops rather than pulling taut across the foliage
- Tuck ribbon edges into inner branch joints to hide wire stems and preserve organic curves
- Combine matte velvet with sheer metallic organza for luminous dimensional contrast
Weaving wide wired ribbon diagonally across an evergreen tree immediately softens dense branch structures while establishing natural visual rhythm. By anchoring the spool at the crown and teasing gentle puffs downward in an undulating diagonal spiral, you introduce movement that ties disparate baubles together into one cohesive designer installation.
2. Ornament Depth Layering

- Hang oversized matte globes close to the trunk core to eliminate vacant interior cavities
- Position medium reflective baubles mid-branch to catch filtered ambient fairy light
- Suspend fragile mouth-blown glass trinkets along outermost perimeter branch tips
- Stagger ornament depths across alternating levels to create an expansive three-dimensional canopy
Mastering depth layering transforms a flat tree exterior into an alluring, multi-dimensional winter sculpture. Pushing larger, low-sheen globes deep into the central boughs creates an illusion of boundless foliage density, while allowing delicate filigree pieces on outer tips to catch passing glances without visual clutter.
3. Branch Fluffing Method
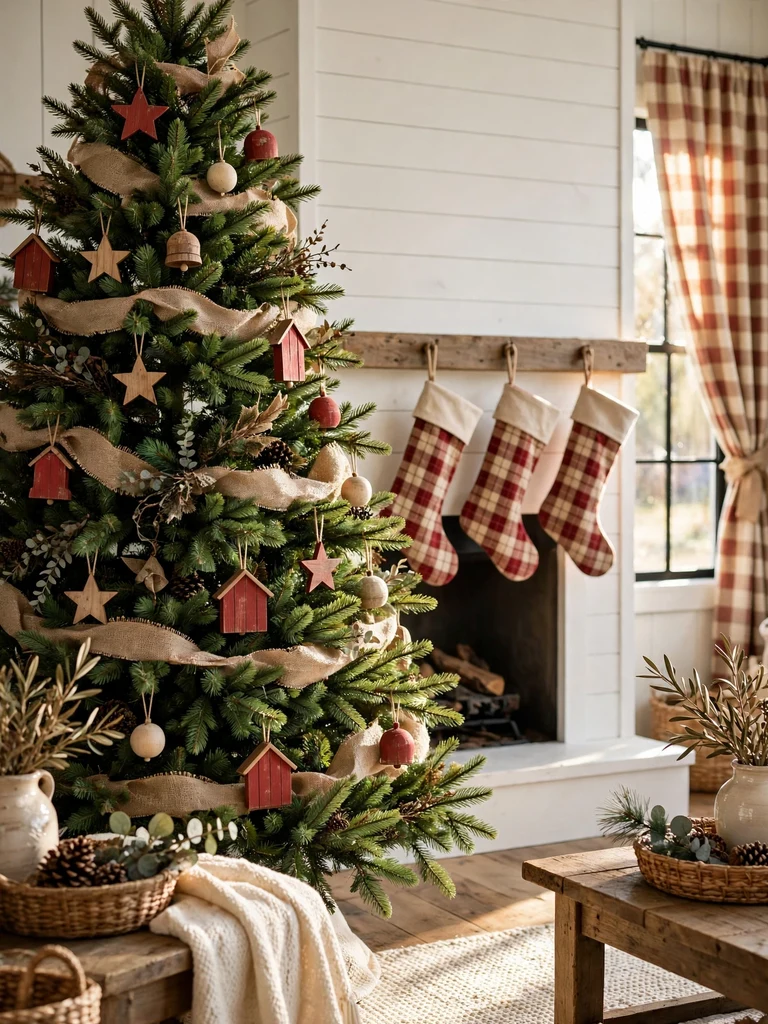
- Work section by section from bottom tier toward the crown prior to adding any decor
- Separate wire sprigs in alternating starburst patterns pointing outward, upward, and downward
- Bend inner tips toward the center pole to obscure artificial hardware and trunk fixtures
- Step back periodically to inspect tree silhouette from seated and standing vantage points
Taking an unhurried hour to sculpt every synthetic needle cluster forms the indispensable foundation of an upscale display. By angling secondary sprigs in dynamic multi-directional sprays rather than leaving them horizontally flat, you eliminate hollow silhouettes and build an authentic, naturally sprawling evergreen profile.
4. Clustered Bauble Placement

- Group three to five coordinating ornaments of varied diameters using green floral wire
- Nestle bauble clusters directly into deep foliage pockets rather than dangling singularly
- Blend polished mirror finishes, frosted glazes, and fluted glass textures in each trio
- Distribute clusters evenly across triangular focal points around the entire tree circumference
Gathering contrasting baubles into deliberate clusters yields high-impact focal vignettes that look straight out of a luxury showroom catalog. Binding three graduated spheres together with florist wire anchors them securely into branch nooks, delivering a lush, opulent weight that individual dangling ornaments simply cannot match.
5. Floral Pick Insertion
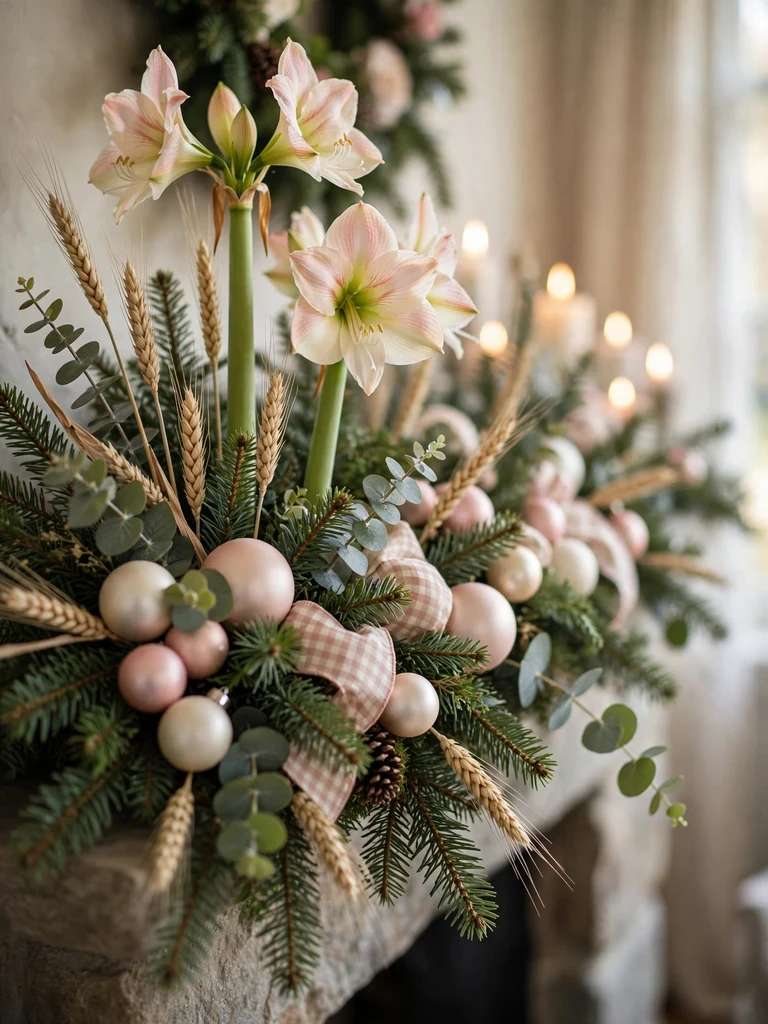
- Angle faux cedar, snowy eucalyptus, and juniper stems upward along natural growth angles
- Insert glistening frosted berry sprigs to introduce vibrant pops of seasonal contrast
- Push pick stems securely into branch junctions without relying on visible adhesive tape
- Repeat pick varieties in sweeping diagonal swathes to guide viewer eyes through the tree
Botanical filler picks provide instant textural drama, disguising awkward gaps between artificial branches while imparting wild, freshly foraged authenticity. Choosing frosty winter foliage interspersed with crystalline berries injects architectural height and woodland softness that instantly bridges tree branches with decorative baubles.
6. Light Wrapping Sequence
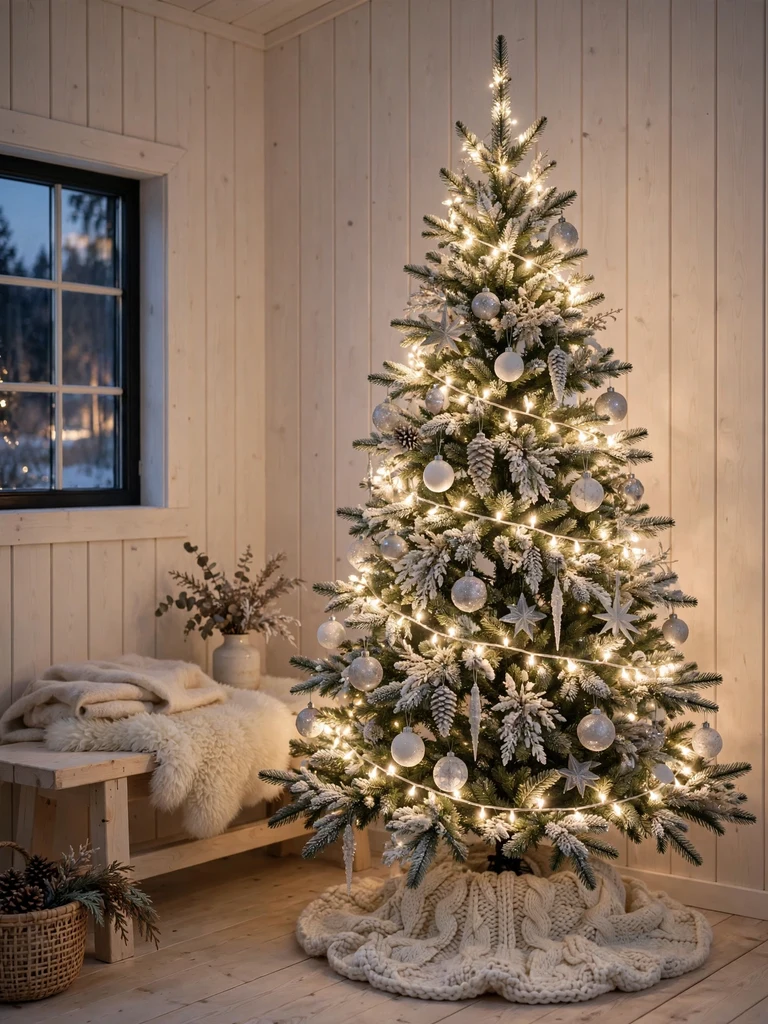
- Test all light strands thoroughly on the floor before securing them around evergreen branches
- Wrap fairy strands from base to tip along each main bough before returning inward toward trunk
- Maintain a generous ratio of roughly one hundred bulbs per foot of tree height
- Keep cord connectors buried alongside the central spine to preserve clean presentation lines
Illuminating an evergreen from inside out produces an intoxicating multidimensional glow that enchants every corner of the room. Rather than looping strands lazily around the tree exterior, wrapping each individual branch back and forth embeds radiance throughout the core, making every ornament glimmer from behind.
7. Vertical Ribbon Cascades
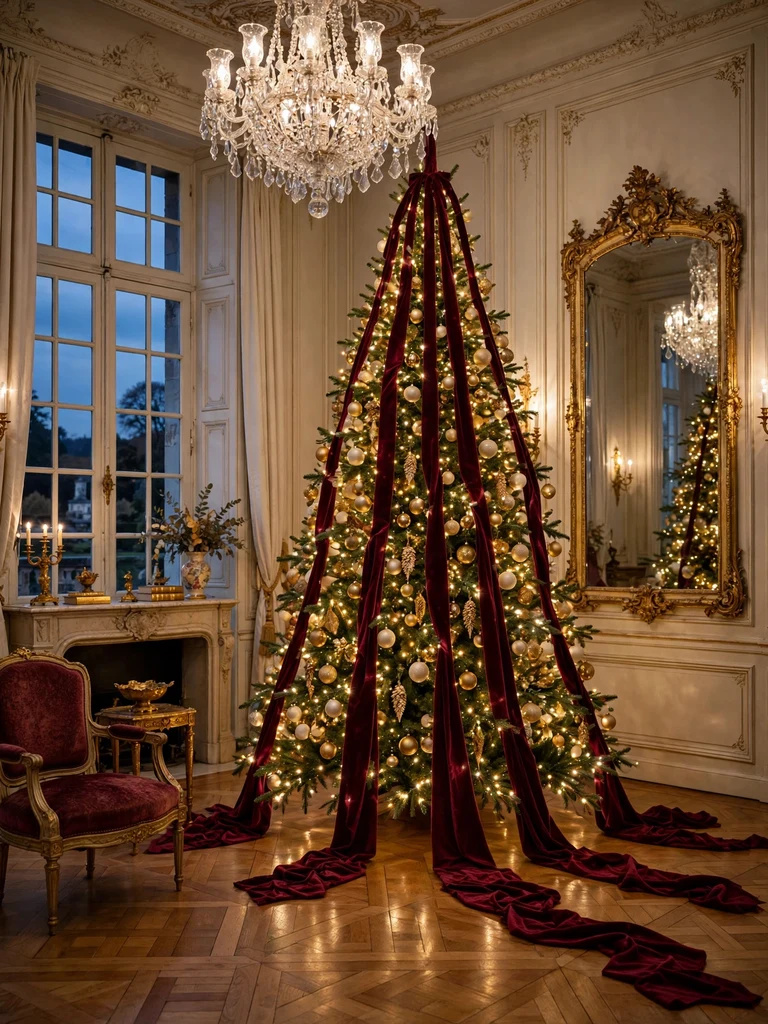
- Cut long wired ribbon strips measuring one and a half times your tree’s total height
- Fasten ribbons directly below the treetop finial and let them tumble downward gracefully
- Pinch and tuck fabric at graduated intervals into pine needle forks to form soft waterfalls
- Dovetail ribbon tails cleanly at the skirt hem for polished tailoring
Vertical cascades offer a striking, tailored alternative to conventional horizontal garlands by drawing the eye upwards and accentuating room ceiling heights. Billowing wide dupioni silk or textured French burlap downward creates graceful visual fluting that flatters both slender pencil trees and expansive full-profile evergreens.
8. Layered Ornament Grouping

- Combine complementary geometric shapes like finials, teardrops, and classic round spheres
- Anchor heavier cast-metal or ceramic accents onto sturdy lower structural boughs
- Use ribbon cords or velvet ties instead of flimsy wire hangers for an artisan touch
- Maintain consistent spacing between distinct thematic grouping stations around the perimeter
Thoughtfully mixing structural silhouettes—pairing elongated iced teardrops alongside fluted globes and sculpted acorns—infuses the tree with collectible curatorial charm. This intentional contrast prevents visual fatigue, giving holiday guests delightfully intricate details to admire upon closer examination.
9. Stemmed Flower Integration
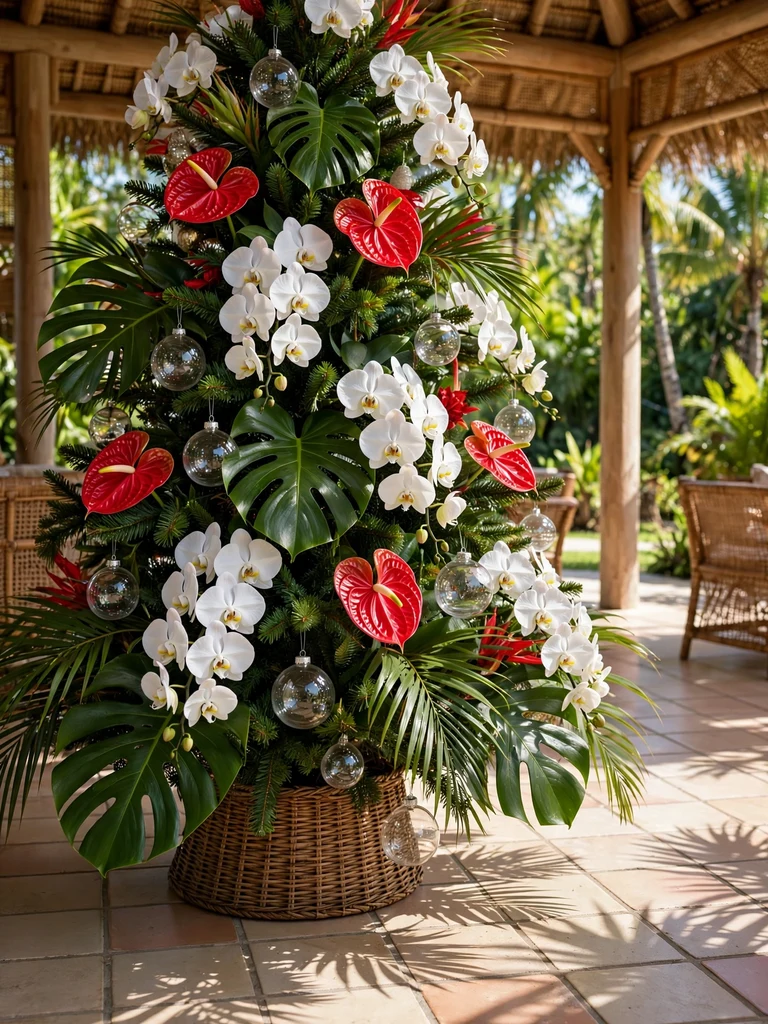
- Select oversized faux magnolia blossoms, velvet poinsettias, or frosted gardenias
- Trim wire stems to six inches so blossoms nest snugly into branch forks without drooping
- Angle flower faces slightly outward and upward toward primary room seating arrangements
- Group blossoms in clusters of three for balanced asymmetrical luxury statements
Incorporating oversized faux silk or velvet flowers adds an opulent couture touch seldom seen in standard holiday decorating. Nestled directly into branch forks, velvety petals break up sharp needle textures and provide generous reflective surfaces that capture the warm halo of neighboring string lights.
10. Color Gradient Arrangement

- Plan a vertical ombre spectrum transitioning smoothly from deep tones at base to pale tints at crown
- Transition dark bronze or crimson baubles upward through rose gold into shimmering champagne
- Repeat secondary transitional hues across adjoining branch layers to ensure smooth gradation
- Anchor transitions with metallic ribbon loops that soften abrupt color shifts across tiers
Arranging ornaments in a purposeful vertical ombre creates a mesmerizing sculptural display that turns traditional tree decor on its head. Starting with moodier, saturated jewel tones grounded along sturdy lower limbs and drifting upward into airy frost and pearl white produces a dynamic, high-fashion holiday statement.
11. Interior Branch Illumination
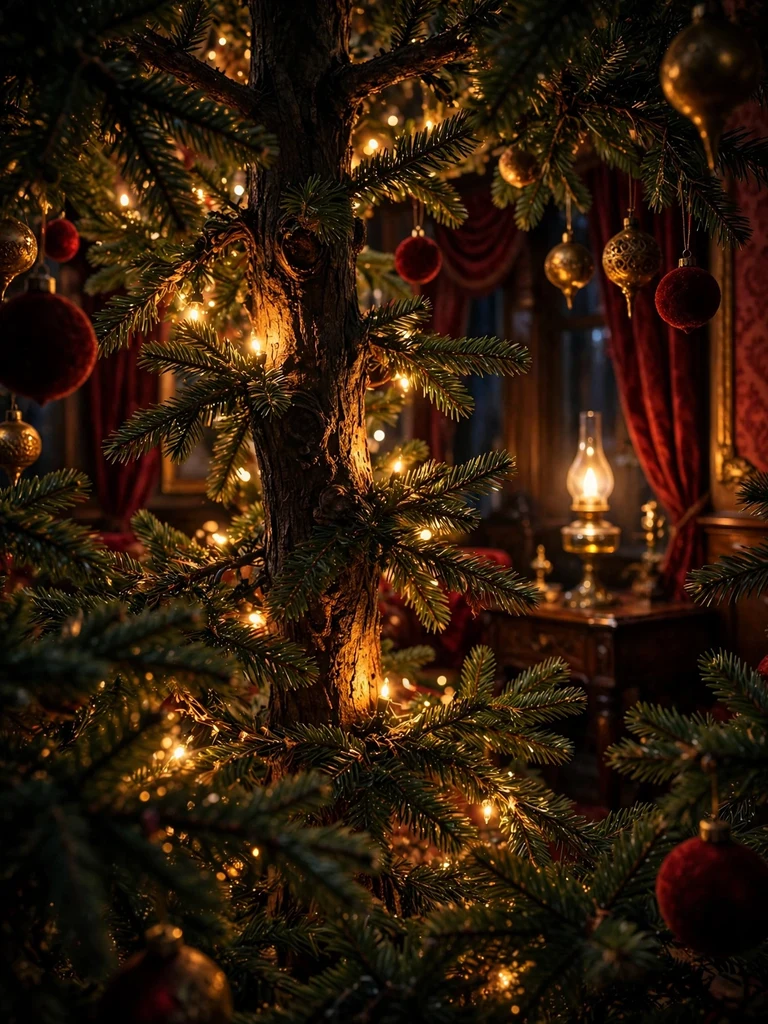
- Place larger globe bulbs or amber fairy clusters right against the central trunk post
- Layer micro-dot seed lights on exterior needles over warmer traditional strands inside
- Conceal extension taps and power cords using dark green zip ties against trunk bark
- Utilize remote dimmer controls to fine-tune ambient glow for intimate evening entertaining
Illuminating the interior spine of your evergreen reveals hidden depth that exterior lighting alone cannot replicate. This concealed lighting layer acts like an internal architectural backlight, projecting soft silhouettes of inner branches outward and magnifying the radiant presence of your tree after sundown.
12. Oversized Ornament Balancing

- Reserve substantial eight to ten-inch globes exclusively for the lower two-thirds of the tree
- Secure hefty baubles directly over branch joints using sturdy zip ties or heavy-gauge floral wire
- Distribute massive accents evenly to maintain visual weight and prevent leaning branches
- Inset giant ornaments deeper into the tree foliage to support surrounding smaller accents
Large-scale statement baubles command attention, yet they require deliberate positioning to avoid overpowering delicate branches. Recessing these substantial globes deeper into lower branches prevents branches from sagging under gravity while grounding your overarching design scheme with commanding stability.
13. Textured Filler Distribution
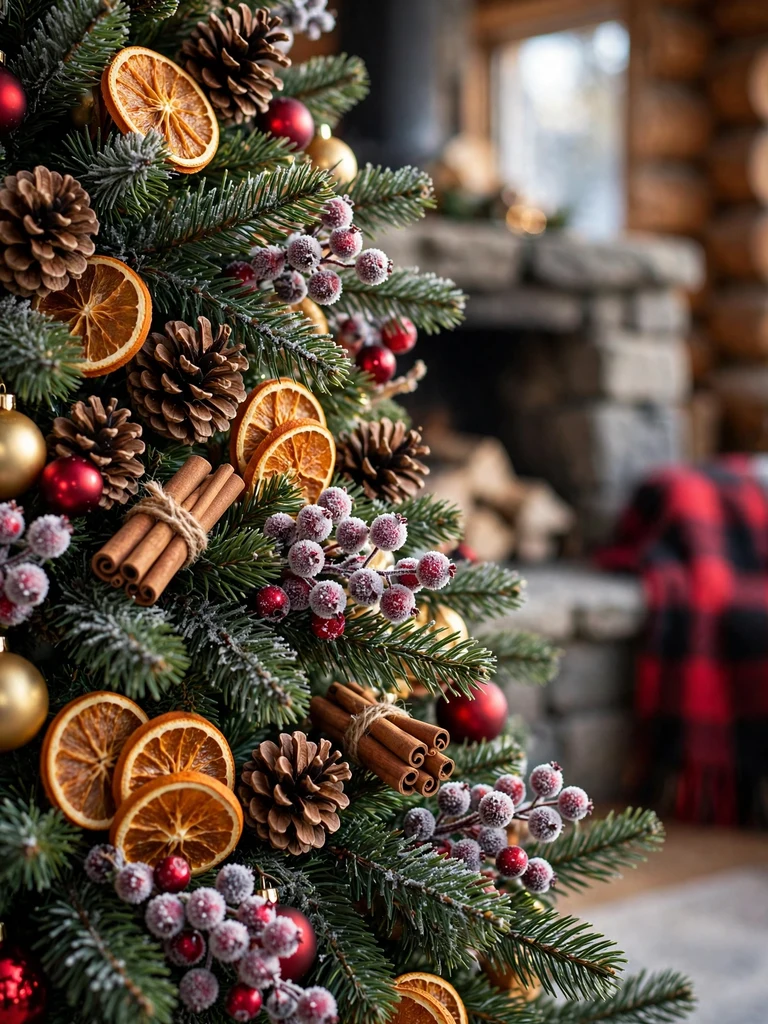
- Disperse natural pinecones, curly willow sprigs, and dried grass plumes across foliage voids
- Interlace frosted branch sprays with soft lamb’s ear or dusty miller foliage picks
- Vary tactile qualities from coarse bark and fuzzy moss to satiny glass and crisp tinsel
- Ensure fillers project outward past branch perimeters to generate organic, airy contours
Introducing diverse textures breaks the monotony of uniform plastic needles and standard glass baubles. Intertwining rustic pinecones, gossamer-soft feathers, and frosted cedar stems brings the rich unpredictability of an authentic winter woodland straight into your cozy living room.
14. Strategic Topper Positioning
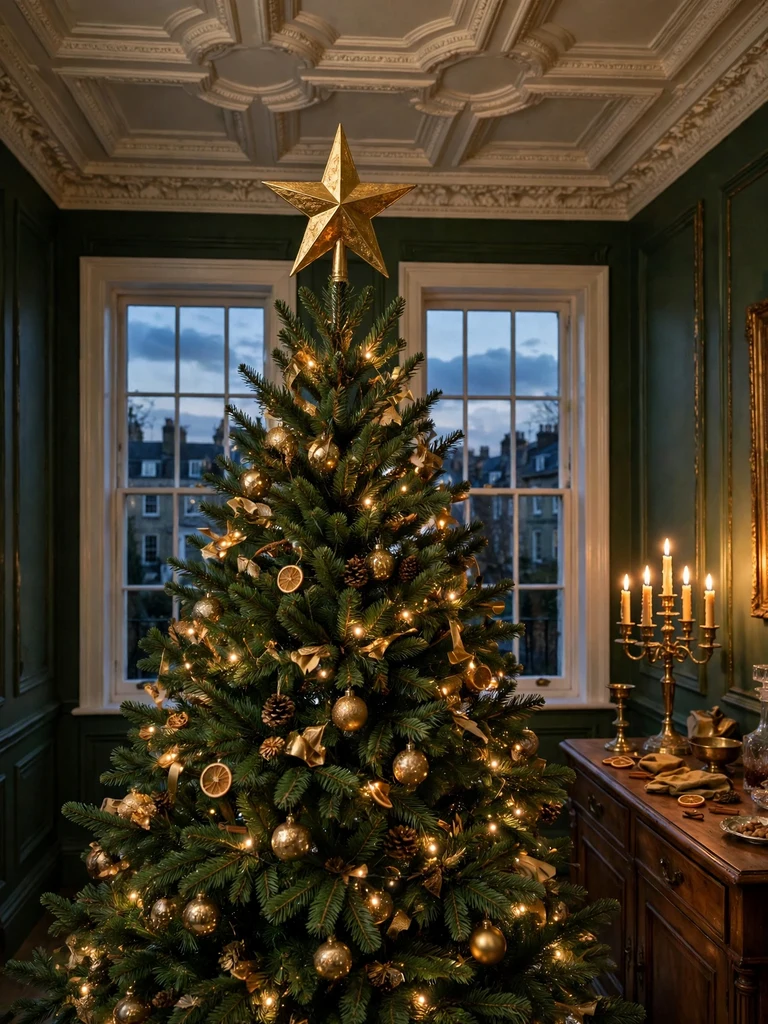
- Reinforce the top leader branch with a rigid wooden dowel or floral stake to prevent tilting
- Select a topper whose scale equals approximately one-tenth of your total tree height
- Blend the topper base seamlessly into the crown using ribbon poufs, floral sprays, or starburst picks
- Ensure secure overhead clearance of at least eight to twelve inches from your room ceiling
A commanding tree topper serves as the triumphant crowning jewel of your holiday display, necessitating solid structural reinforcement. By securing a discreet wooden dowel alongside the flimsy leader branch, your celestial star, antique angel, or architectural finial sits tall, perfectly aligned, and commanding.
15. Hidden Light Placement

- Tuck miniature battery-operated twinkle packs inside opaque decorative boxes on lower branches
- Conceal warm LED puck lights at the base directed upward into dense branch canopies
- Weave micro-fairy wire strands through heavy glass baubles to make them glow from within
- Camouflage battery boxes behind dense ribbon bows or cluster ornaments
Concealing auxiliary light sources within the heart of your tree produces an ethereal luminosity that leaves visitors marveling at the source. Hiding micro-twinkle strands behind frosted globes or illuminating thick clusters from within turns decorative baubles into self-lit gems that radiate warmth.
16. Ribbon Loop Sculpting
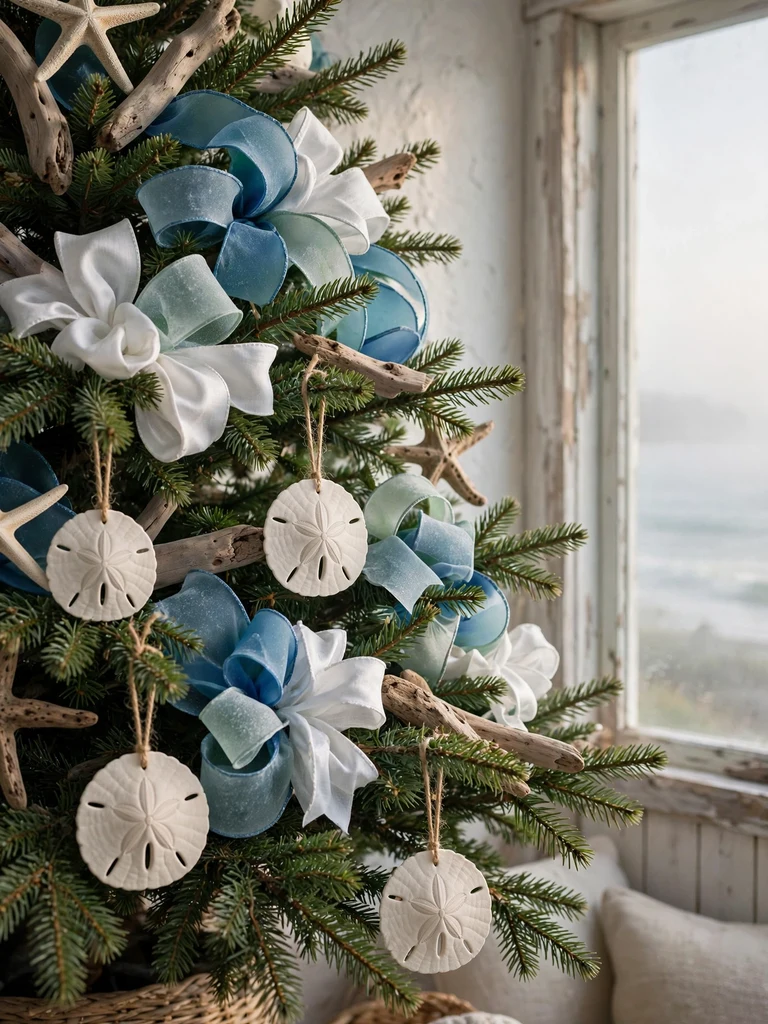
- Shape wire-edged ribbon into billowy double loops before pinching with chenille stems
- Anchor individual ribbon tails to branch tips, letting tails curl naturally like scrollwork
- Combine complementary solid satin and patterned jacquard ribbons for layered dimension
- Vary loop dimensions, fashioning grander loops on bottom tiers and petite loops toward the summit
Sculpting ribbon into structured bows and gentle scroll loops avoids the messy, tangled look of haphazard wrapping. By utilizing heavy wired ribbon and pinching distinct bow loops onto individual branch tips, you achieve crisp architectural flourishes that withstand inquisitive pet paws and seasonal drafts.
17. Branch Tip Highlighting

- Suspend crystal teardrops or frosted glass icicles right on the outermost needles
- Apply subtle brushings of removable snow paint or white craft chalk to green tips
- Fasten miniature battery candle clips to outer branch edges for nostalgic charm
- Hang light-catching metallic sequins or mercury glass trinkets where room breezes catch them
Accentuating the outermost tips of evergreen foliage defines the tree’s silhouette and creates dynamic sparkle whenever light dances across the room. Suspending faceted crystals or nostalgic faux clip-on candles along the perimeter invites the eye to appreciate the delicate geometry of every branch.
18. Negative Space Balancing
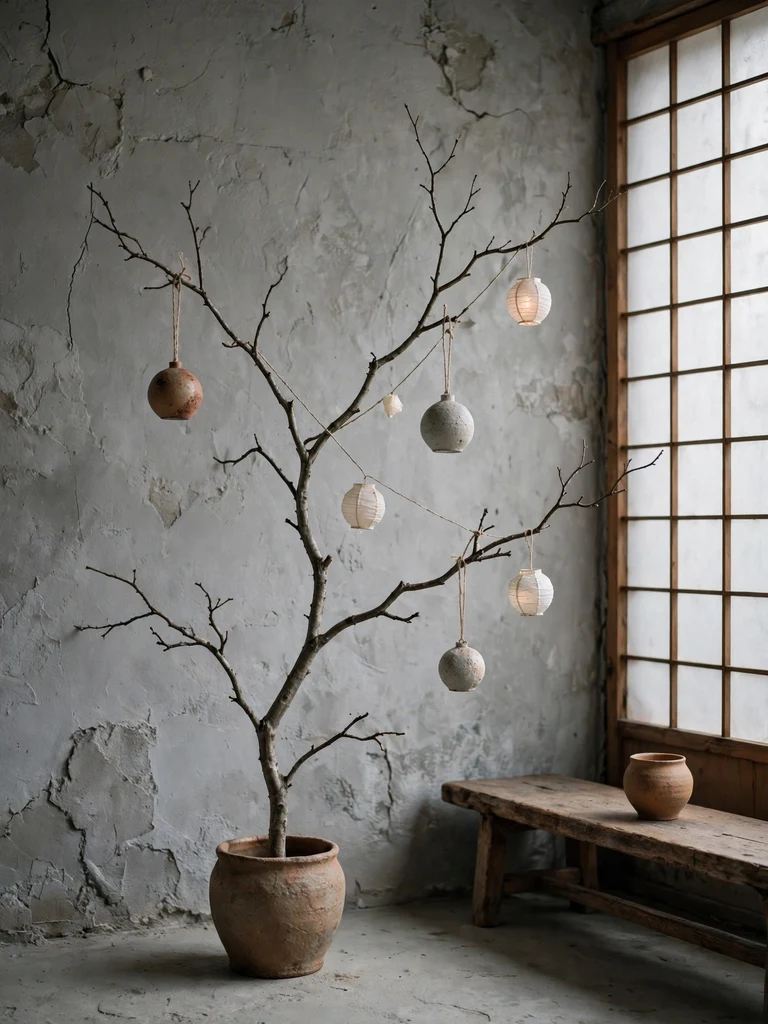
- Step four to six feet back regularly to evaluate gaps and visual weight distribution
- Leave intentional breathing room around exceptional heirloom or handcrafted artistic baubles
- Resist the temptation to pack every branch fork, preserving green needle visibility
- Group smaller accents tightly to create deliberate resting zones across neighboring boughs
Restraint is the hallmark of elevated interior design, and curating negative space on an evergreen allows showcase ornaments room to breathe. By leaving select pockets of rich green needles unadorned, you create rhythmic resting zones that make featured statement pieces appear vastly more precious and intentional.
19. Finishing Spray Accents

- Mist natural pine branches with moisture-preserving floral spray or evergreen scent oils
- Lightly dust outer branches with biodegradable crystalline shimmer powder for frosty glitter
- Anchor delicate dried baby’s breath or white statice sprigs as an ethereal misting layer
- Avoid heavy flocking aerosols that may damage vintage glass finishes or synthetic needle coatings
Adding delicate finishing accents offers a tactile and olfactory flourish that completes your holiday decorating experience. Tucking ethereal clouds of dried baby’s breath among the boughs or misting with crisp balsam fir essential oils immerses your household in authentic seasonal wonder from the very first glance.
Frequently Asked Questions
1. What is the correct order to decorate a Christmas tree?
Always begin with the string lights, weaving from deep inside the trunk outward, followed by garland or ribbon weaving. Next, tuck large statement baubles and floral picks deep within the foliage before finishing with delicate heirloom ornaments and your tree topper.
2. How many ornaments do I need for a 7-foot Christmas tree?
A standard 7-foot tree typically requires between 70 and 100 ornaments for balanced, full coverage. If you prefer an extravagant, luxury-designer aesthetic with rich clusters and depth layering, aim for 120 to 150 assorted baubles and filler sprigs.
3. How do I make an artificial Christmas tree look full and lush?
Thoroughly fluff every branch by fanning out secondary needles up, sideways, and downward to disguise the metal center pole. Inserting botanical berry picks, dried eucalyptus sprays, and wide wired ribbons also fills hollow gaps seamlessly.
4. Which ribbon type works best for styling Christmas trees?
Double-sided wired ribbon measuring 2.5 to 4 inches wide is ideal because it retains crisp loops, billowing waves, and waterfall cascades without sagging under room humidity or tree branch movement.
Bringing Your Holiday Tree Vision to Life
Dressing your evergreen with intentional layering, textural variety, and sculpted lighting turns an ordinary tree into an unforgettable festive centerpiece. Take your time enjoying the process, experiment with light and silhouette, and watch your living room glow with warmth and seasonal wonder throughout the entire holiday season.